Pinterest is where you’re getting most of your blog traffic, right?! Whether Pinterest is your top traffic source or not (or you don’t know), crafting and art and making is all a very visual business. People want to pin your awesome blog post and awesome photos so they can come back and make your projects later or get inspired later or *gasp* BUY your stuff later. The BONUS to people pinning your work is that OTHER people on Pinterest, who have never heard of you or your blog will see your awesome work that that other person pinned, click on it and visit your blog. BYAAAAAAY!
But if your photo is not “optimized for Pinterest”, well, you may not get those amazing BONUS clicks from other people on Pinterest. And hey, that’s kinda what it’s all about – traffic! If you aren’t getting traffic from Pinterest, then your photos probably are not working as hard for you as they should be. You need to optimize those photos for Pinterest, baby!
*disclosure- this post contains affiliate links for which I make a small commission if you make a purchase. Gotta keep the lights on over here so I can keep using the interwebs to make these blog posts*
To optimize photos for Pinterest, you need photo editing software.
Making your Photos “Optimized for Pinterest” is a fancy way of saying that your photos are the correct size, proper orientation, and contain the right information to make them stand out on Pinterest. The best way to do that is with Adobe Photoshop via Adobe’s Creative Cloud Membership.
Photoshop Elements 10 – Download
Now, if you don’t have Adobe Creative Cloud or you are still raging against “the Man” and don’t wanna buy it, you can use some of these other options:
- PicMonkey – PicMonkey is a powerful photo editor you can use for FREE! Create collages, touch up photos, add text and graphics, all in minutes using this online software. The Royale version (paid but super affordable) has even more options. Sign up for PicMonkey Royale and get a Free 30 day trial!
- Spoken.ly (NOTE – they disabled it in Spring 2015. You can go check out their NEW site at Postful.ly and sign up with your email to get early access. Bummer)– this site works on tablets and desktops and they are developing mobile apps. It’s great for making quotes BUT you can add your own words and images for things like blog posts. Follow me on Spoken.ly
- Canva – Canva allows you to make quotes and images with text mostly for free. Premium features start at $1 each and you can pay as you go to buy premium images to use. You can also find and share custom designs that other people have made. Follow me on Canva. Click here to get more info on Canva.
Here’s how to optimize your photos for Pinterest:
Consider this when making your photos Pinterest-ready:
- Make Photos 735 pixels wide. The minimum width is 600 pixels wide. Here are more opinions on the matter:
- Constant Contact – pins 600 pixels wide
- Buffer – pins 735 pixels wide
- Pinterest – pins 600 pixels wide at a minimumio
- Images with 2:3 aspect ratio get the most repins – that means your image should be 1.5 times taller than it is wide. So a 735 pixel wide image should be 1102 pixels tall
- Always put your website on them!
- Make collages, showing off your project or item from different angles
- Share a tutorial (just know that they may not go to your website if your whole tutorial is available on Pinterest)
- Add a title or a nice text block telling people what your post is about. Here is a great example:
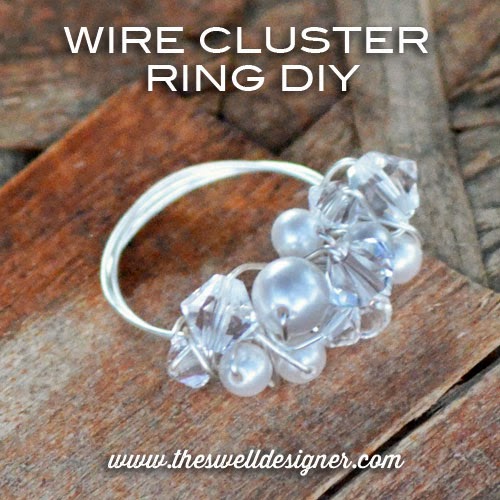
Here is an example of adding a title to a collage (made in PicMonkey):
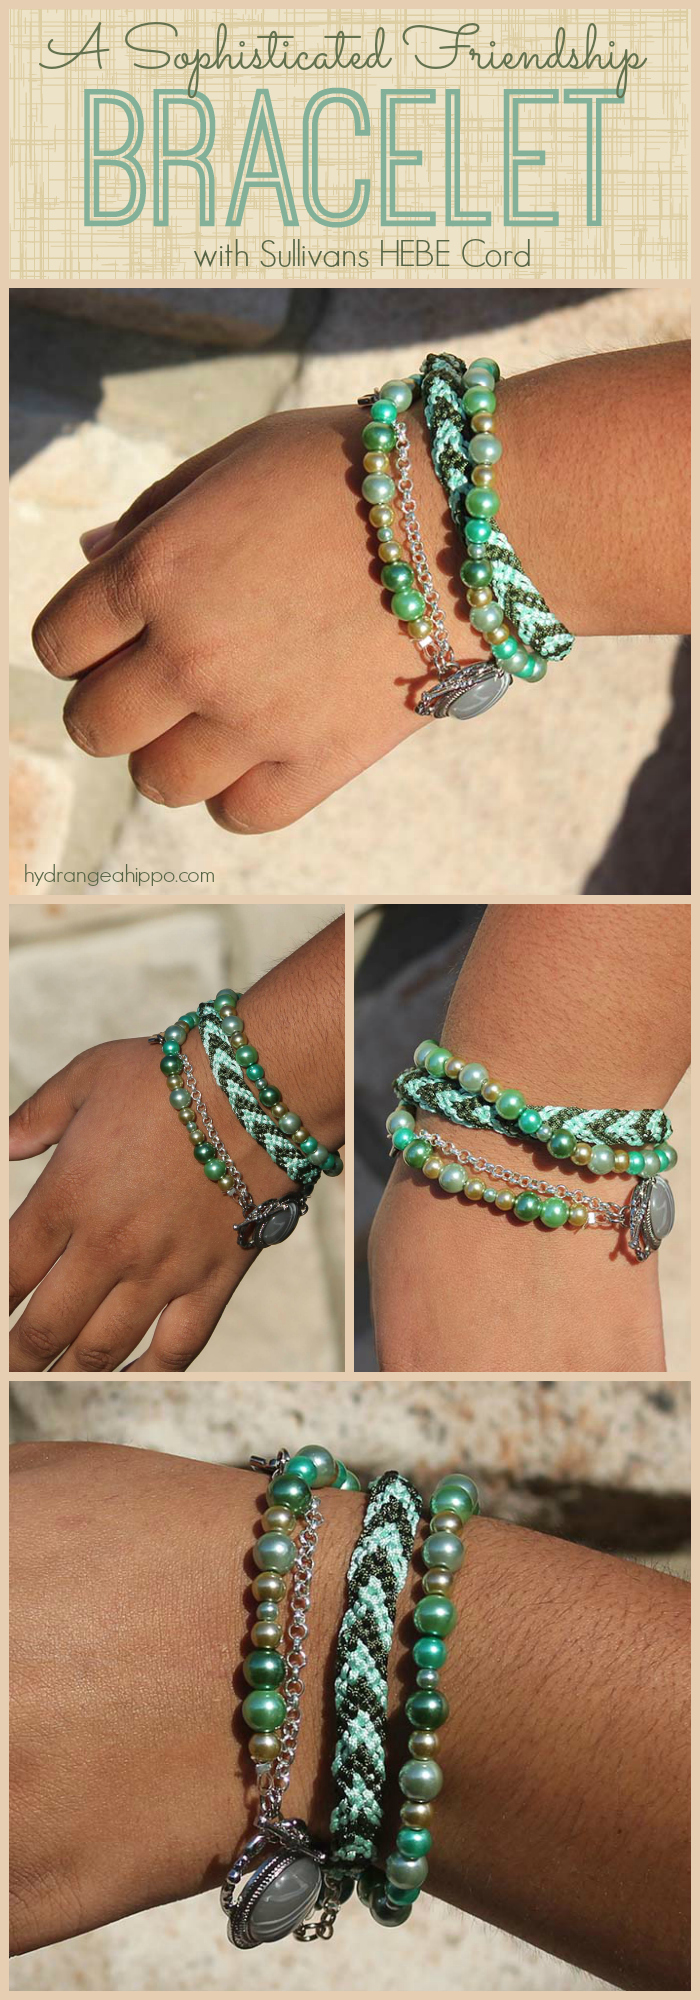
Use your images to share a tutorial that will draw people to your site (made in Canva):
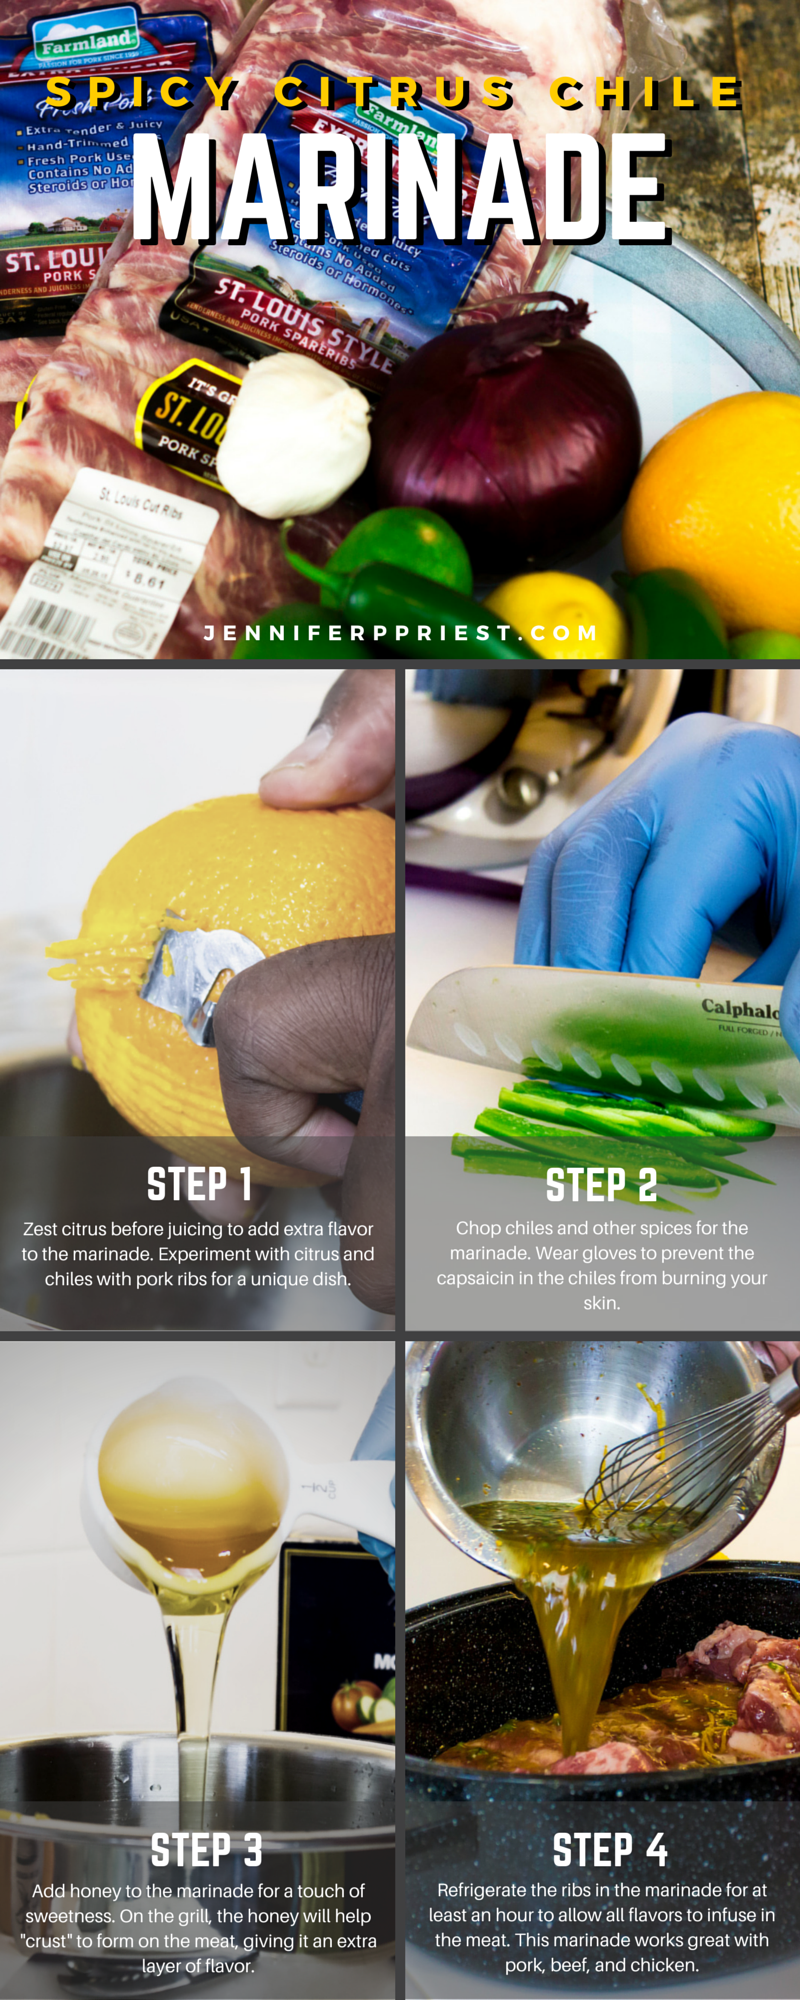
Create a long image that tells a story (made in Photoshop):
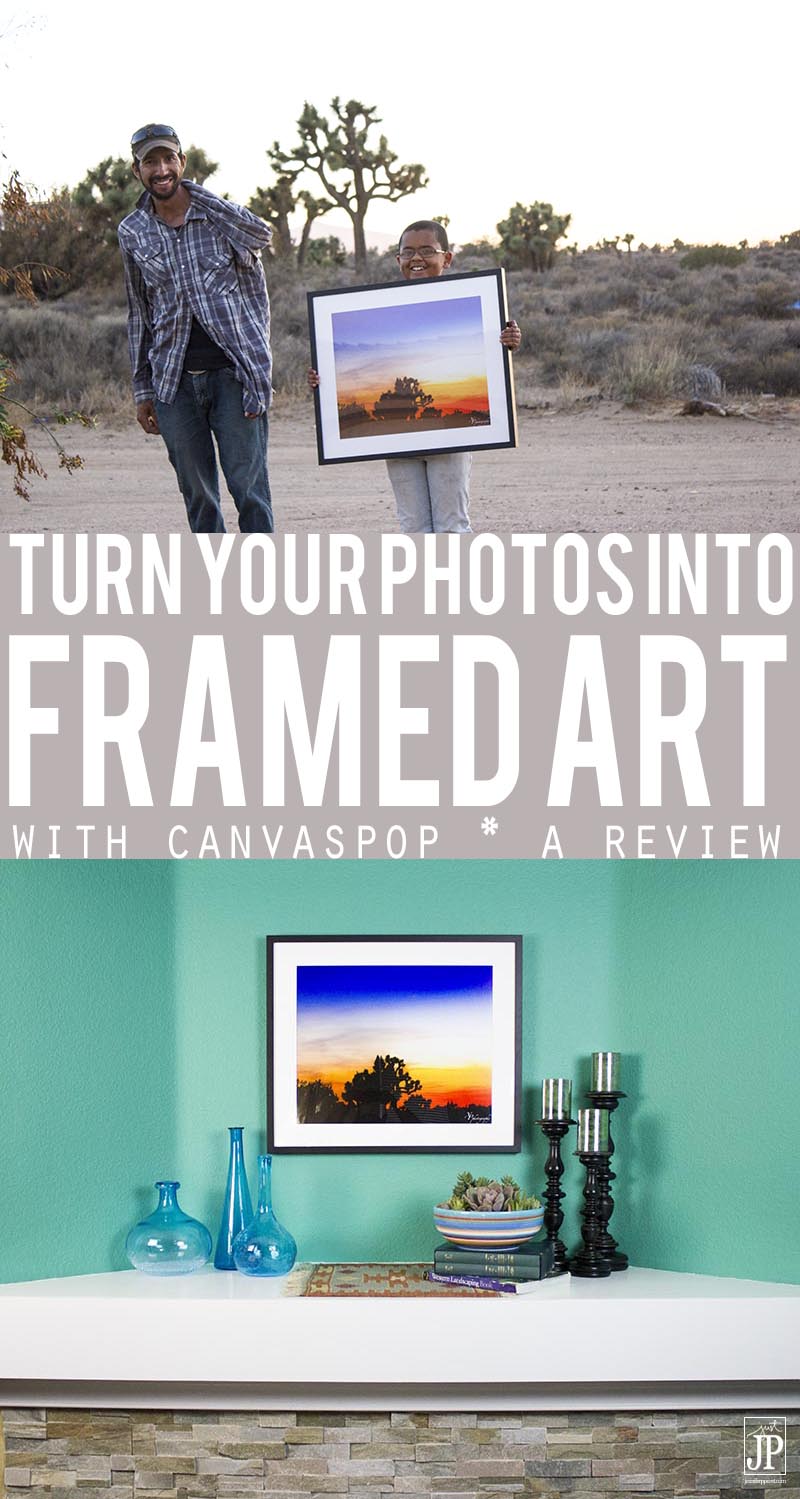
Make Polyvore style collages with titles that POP to catch people’s eyes in the Pinterest feed (made in Polyvore):
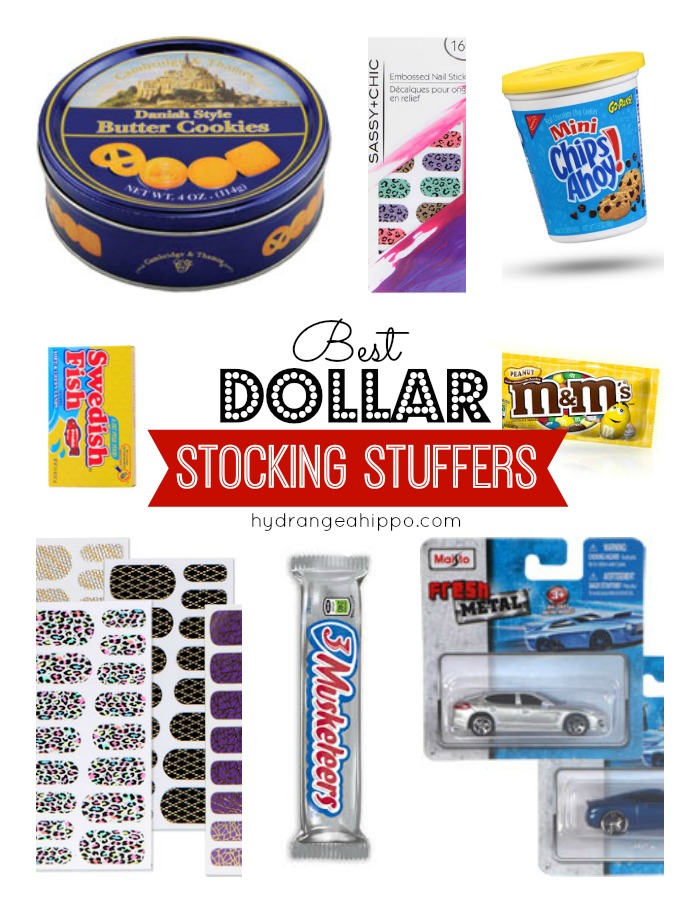
Sometimes you don’t have images but you can create a graphic that is highly “pinnable”(made in Canva):
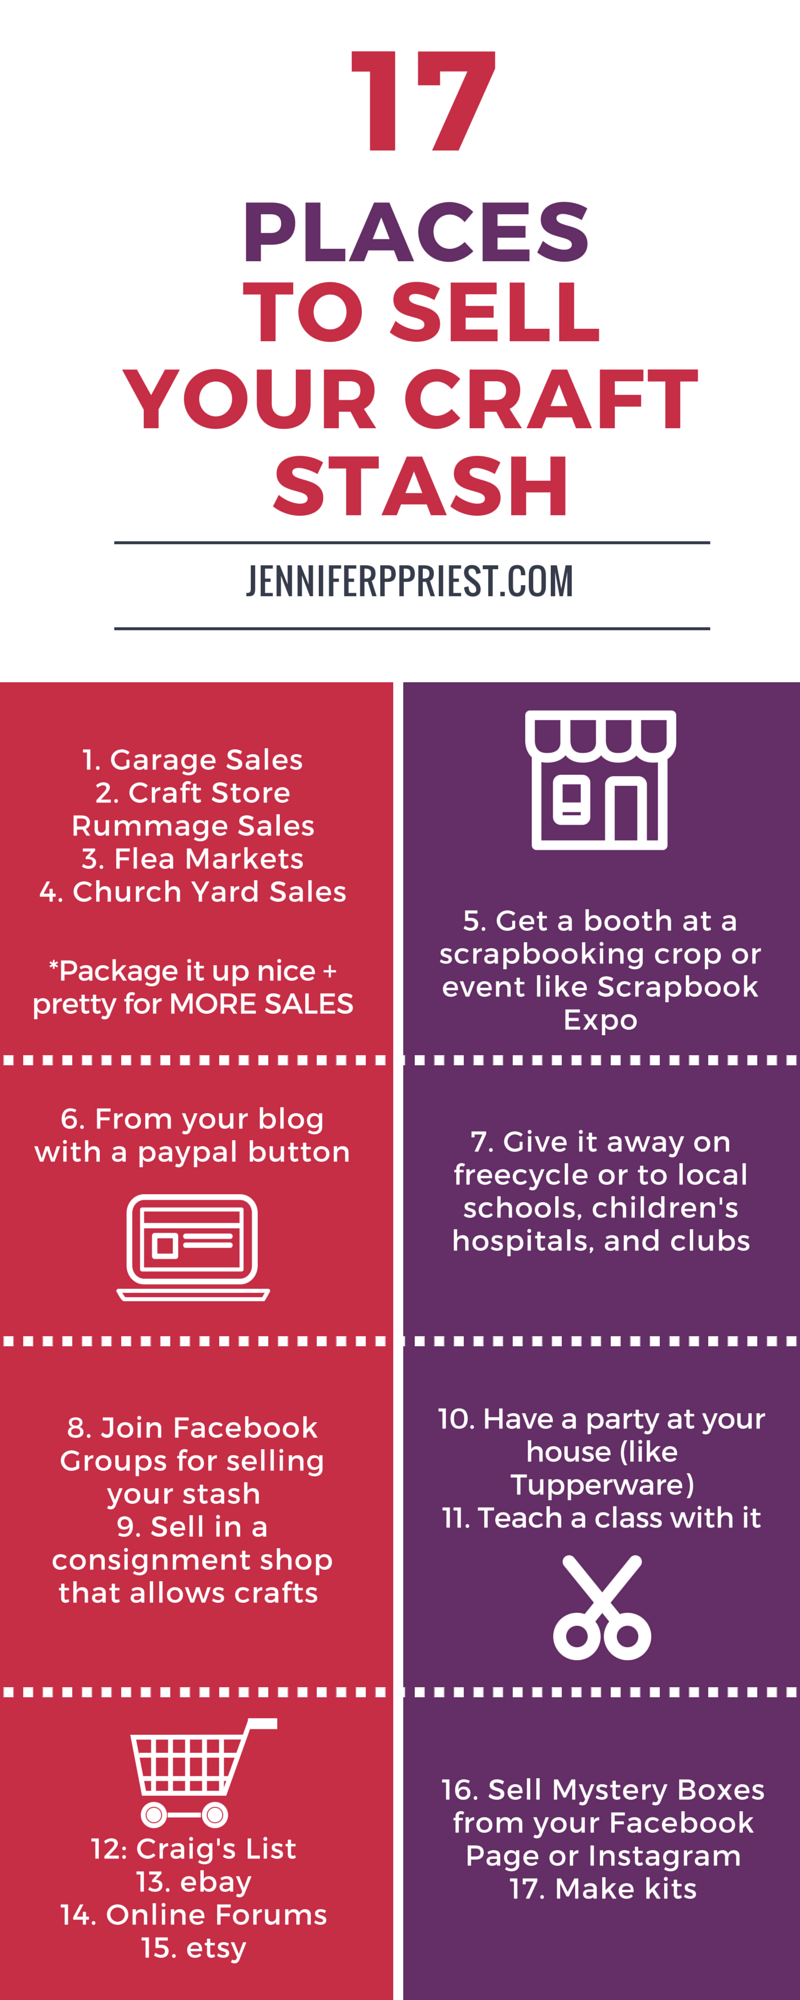
Experiment with where you place the text on your long image. I like posts with text in the middle right now in summer 2015 but last fall I was doing posts with text at the top. At Alt Summit in June 2015, Peg Fitzpatrick said that she likes long images with a great image at the top and text at the bottom. Experiment and see what gets you the best results. Also, scroll through Pinterest and study the images that really catch your eye:
- What do the images have in common?
- What about them caught your eye?
- Is that a look you think you can replicate?
Do you load long pinnable graphics on your blog?
No. I actually have been experimenting with making a long pinnable image for the blog post and loading that image directly to Pinterest or using an app like Tailwind to add the image to Pinterest. Long pinnable images look weird on a blog. Use the long image as a promotional tool to pull people from Pinterest to your blog, using images from the blog post you’re sharing.
I hope this post gives you some great ideas for making more “pinnable” images for your blog. Please “pin” this blog post so you can refer to it again easily in the future.
Sources:







Lot’s of helpful tips, Jennifer and your graphics are terrific, too.
I currently do load my 4×6 pinnable images on my blog and it seems natural to me… but those really long images… I don’t do for the most part unless it’s from a round-up we’re doing for a link party. Wondering… if you upload your image directly to Pinterest, how does that give your blog direct traffic since it doesn’t have the verified link from your website?
All the best for an extraordinary week!
If you load your image direct to Pinterest, you have to also paste the URL into the description. That’s how I do it. Glad you liked it 🙂
Wow, such great information! Thank you for sharing! I’m pinning to save for more in depth study! 🙂
Thanks so much!